CMS Connect

CMS Connect
This month, we delved into the powerful yet somewhat hidden features of Experience Builder sites – CMS Connect. This nifty tool enables you to seamlessly integrate your headless CMS content into your existing Experience Cloud site, adding a layer of flexibility and efficiency
When it comes to features, CMS Connect doesn't disappoint. It's like a Swiss Army knife for content integration. It provides a significant capability out of the box:
-
Flexible Content Integration:
CMS Connect seamlessly integrates headless CMS content within your Experience Cloud site. -
Dynamic Content Publishing:
Effortlessly publish dynamic content, including real-time usage data and logs, in a structured and visually appealing manner. -
Ease of Setup:
Setting up CMS Connect is straightforward, with an intuitive user interface for easy configuration. -
Extensive Compatibility:
Choose from HTML content, CSS, JavaScript, or JSON data to tailor content integration based on your specific needs. -
JSON Data Execution:
Execute JSON data for robust structuring and presentation of information. -
Granular Control with Trusted URLs:
Trusted URLs offer granular control over Cross-Origin Resource Sharing (CORS) for enhanced security.
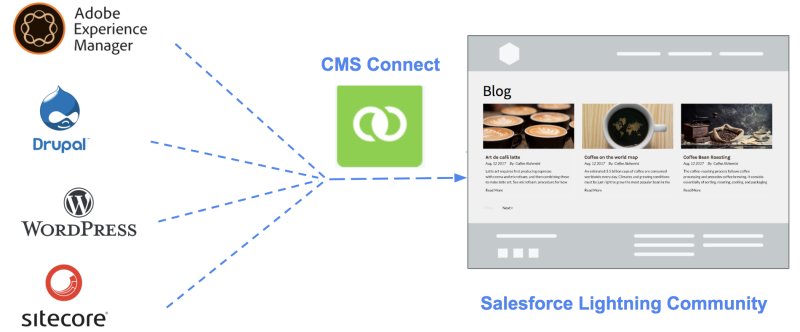
However at AppGenie we don’t settle for the ordinary. Instead of opting for an off-the-shelf CMS, we decided to push the boundaries of CMS Connect. Our mission? To use CMS Connect for publishing dynamic content, specifically Usage and Logging Information for FTP2SF.
Setting up CMS Connect
CMS Connect licenses come in various tiers, accommodating different organizational needs. These licenses grant access to CMS Connect features, facilitating the integration of headless CMS content into Experience Cloud. It's crucial to evaluate the available licensing options based on factors such as user count, feature requirements, and budget considerations
Setting up CMS Connect is a breeze and theres a great reference to kickstart your CMS Connect journey https://developer.salesforce.com/docs/platform/cms/guide/cms-connect-create-connection.html
So throwing this firmly into the left-field we decided to try CMS Connect calling a lambda function hosted on AWS, because well ... we really like
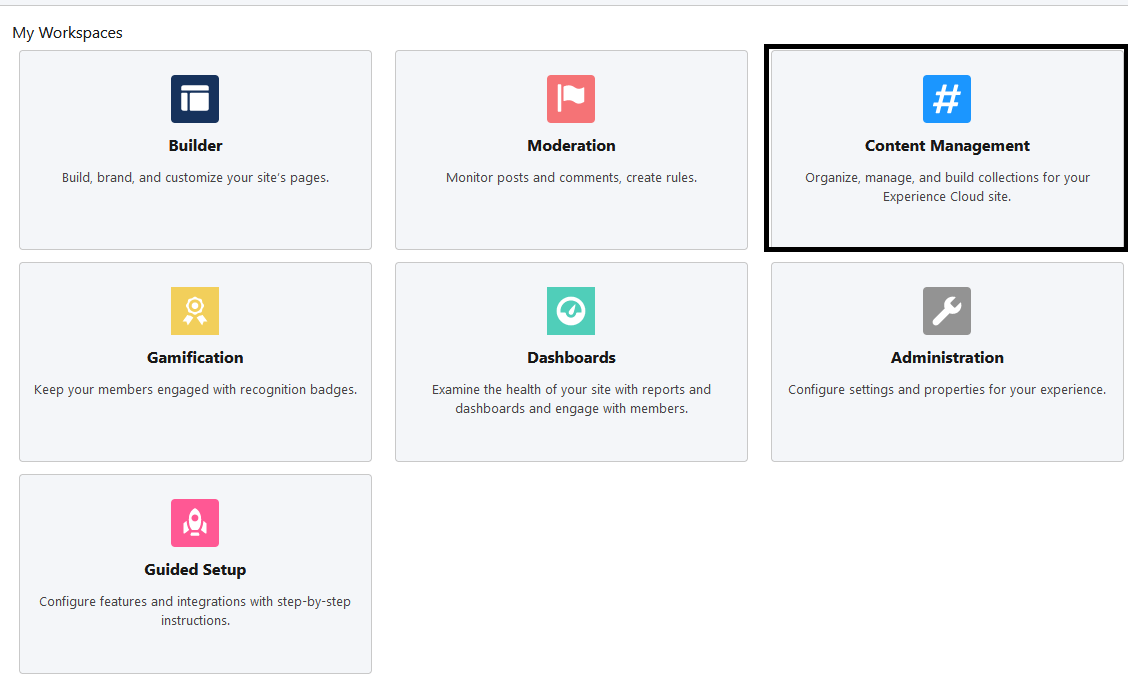
Lambda functions here! First step - go to your Experience Site Workspace - Content Management
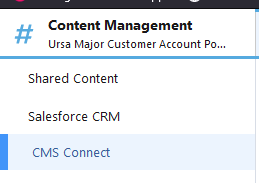
Select the CMS Connect option and New to get started.
Enter the details for tour connection, weve chosen CMS Source of Other, if you're using some of the sandard blog post tools such as Drupal or Wordpress there's options for those too.
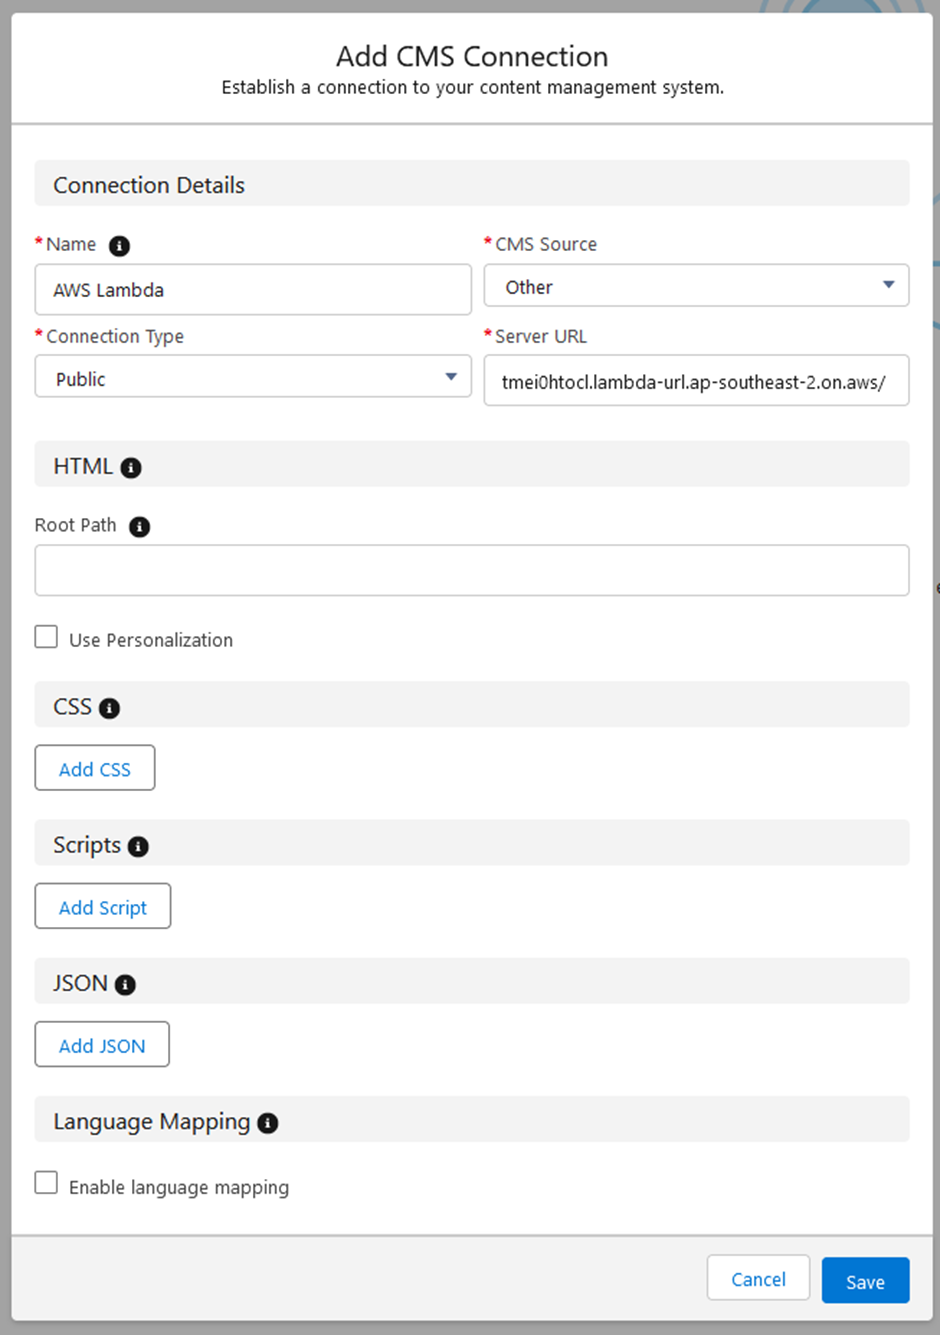
Once armed with the basics, you can choose to add HTML content, expose CSS and JavaScript, or dive into JSON Data. In our case, we're interested in executing JSON Data.
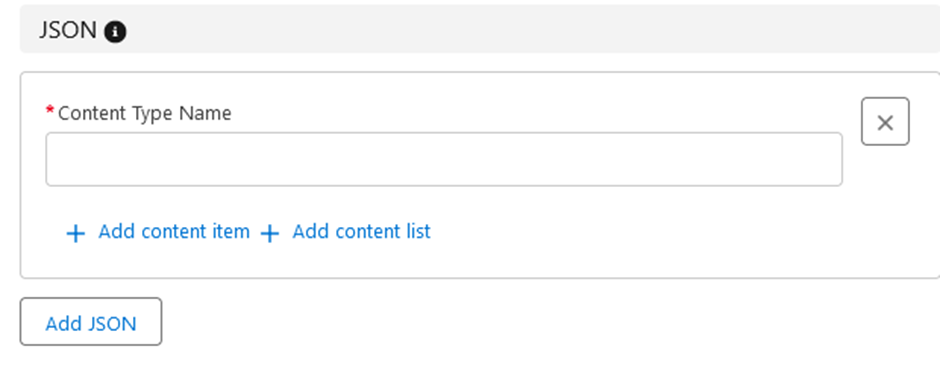
For our purposes we are calling the endpoint with the path /customer so our connection proprties look like the below.
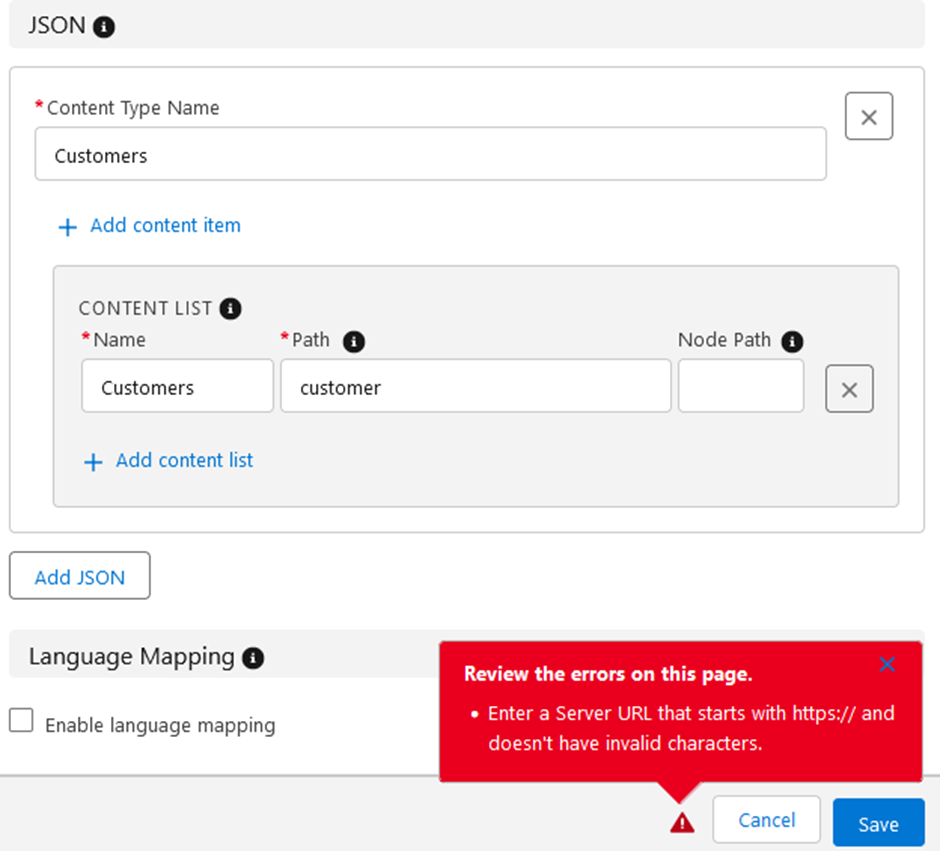
Note that we also have to fully qualify the server URL. Once we have our details sorted we receive the below message – don’t bother clicking more details ….. it wont work, more on Trusted URLS later!
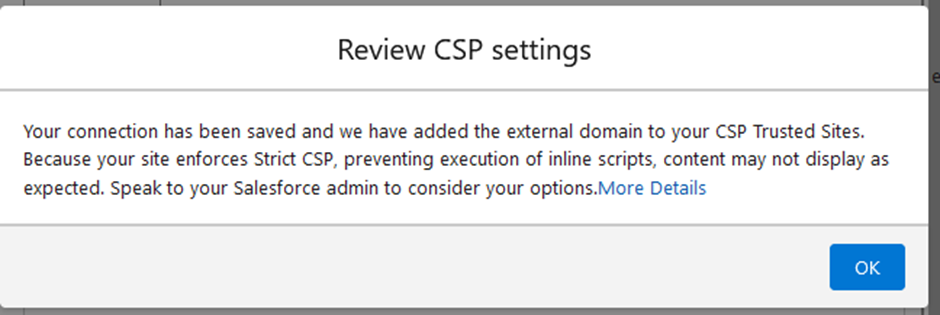
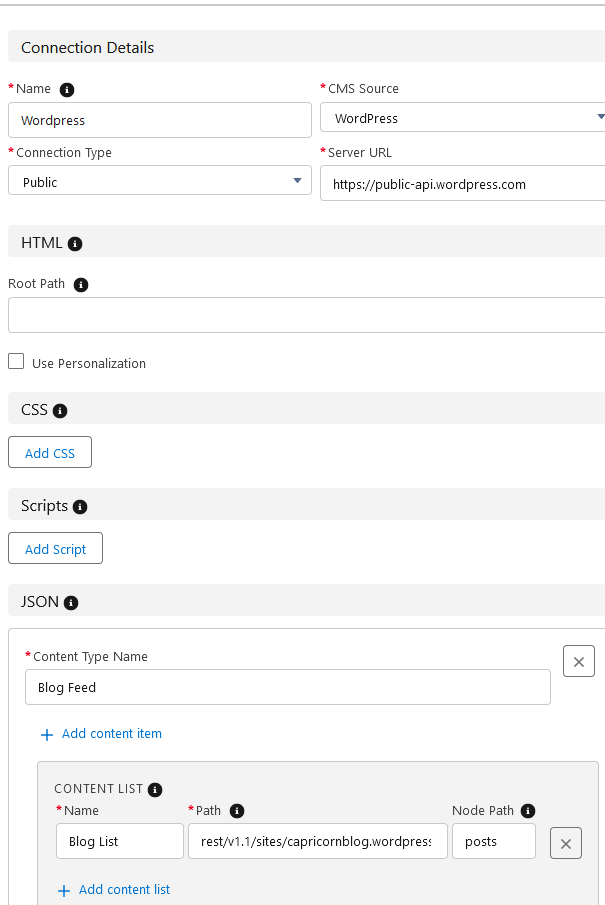
Thats it - your CMS Connect is up and running. For reference here is the example site for Wordpress to - that way you can test your CMS Connection.
Next step - putting content into your Experience site.
Adding JSON data to your Site
Once you have your CMS Connect setup completed , you can add this content to your site through Experience Builder, to do this find the CMS Connect (JSON) widget and drop it into your page.
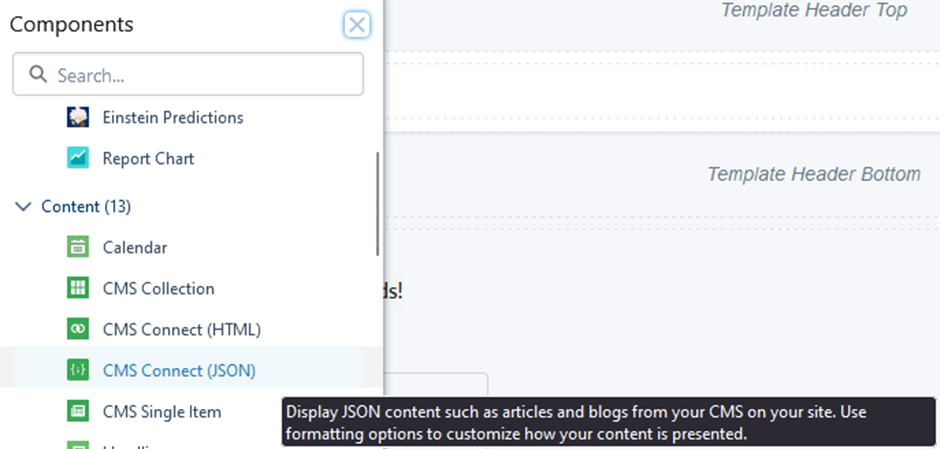
Once you have the widget dropped into your page, we need to set the connection properties including the content.
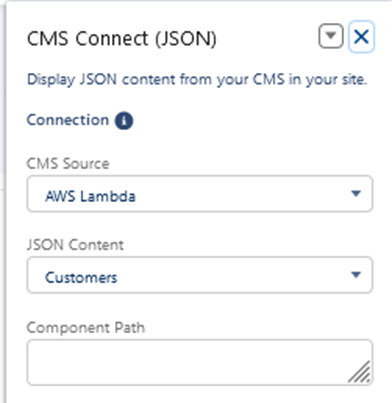
Setting the Content up is simple and there is a step by step guide for this here https://developer.salesforce.com/docs/platform/cms/guide/cms-connect-json.html or you can reference the help on this https://help.salesforce.com/s/articleView?id=sf.rss_cms_connect_json.htm&type=5 for our purposes we are using the Card option (the only one) and then specifying account_name and display attributes in the JSON datapacket.
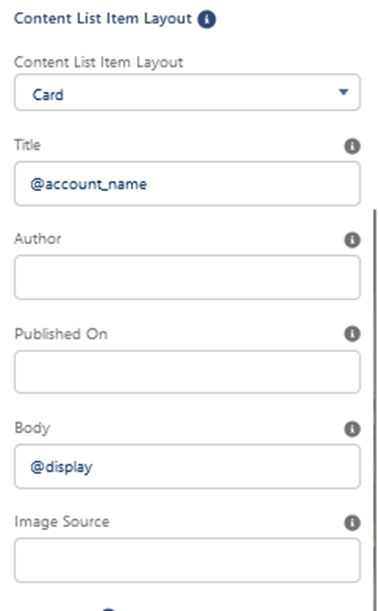
Handling more complex JSON structures? Mix and match some simple functions to interrogate the JSON response, with the complete function reference https://developer.salesforce.com/docs/platform/cms/guide/cms-connect-json-expressions.html
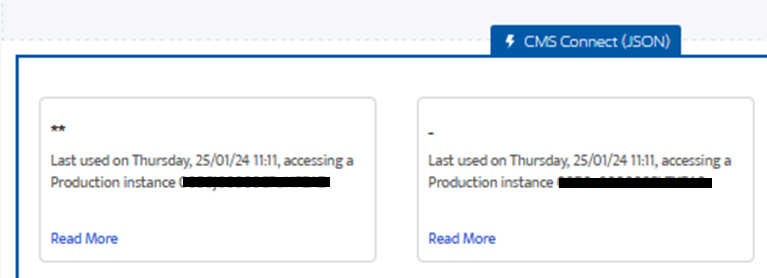
Once you've wrapped up, voila! A visually appealing card list is at your disposal, serving as a headline. Keep in mind that the display field we use involves a mash-up of key information.
Now, onto the challenges…
Most error messages are, unfortunately, not the most informative.

The first issue is related to Trusted URLs. Trusted URls are a new feature within the Salesforce ecosystem and they are designed to provide more fine grained control on the CORS.
By default the Trusted URL entry is created by your CMS Connect setup – except it only allows img-src (images) – for the JSON response we are also expecting connect-src (scripts) as per below

Read more about Trusted URLs here https://help.salesforce.com/s/articleView?id=sf.security_trusted_urls_manage.htm&type=5
The second issue is a little more subtle and requires modification of your lambda function, this is also related to CORS and the requirement that the header
{ "Access-Control-Allow-Origin", "*" }
Its actually your choice to enable by wildcard, the other option is to interrogate the request and parse the referrer and return this, or hard-code the specific site (put it in a config file!).
Summary
For a swift and easy setup, CMS Connect is your go-to. However, it comes with a caveat – currently, the only option for HTML output is the Card, this presents both advantages and limitations.
Pros:
-
Visual Appeal:
The card layout provides a visually appealing and organized presentation of content, enhancing user engagement and readability. -
Consistency:
Standardizing content in card format ensures a consistent look and feel across the site, contributing to a cohesive user experience. -
Ease of Implementation::
Implementing the card format is straightforward, simplifying the content creation process and reducing development time.
-
Limited Customisation:
The major drawback lies in the limited customisation options. For those seeking highly tailored HTML output, the card format might fall short of meeting specific design or branding requirements. -
Content Flexibility:
The fixed structure of cards may not suit all types of content, especially for organisations with diverse or complex data presentation needs. -
CSS Styling:
While the card layout is standard, leveraging CSS styling can provide a degree of customisation to match the overall site aesthetic, at this point that means embedding the styling in your JSON.
CMS Connect is a powerful tool for seamless content integration. While it has its limitations, its quick and easy setup makes it an excellent starting point for those looking to enhance their content management capabilities. #Summarize key takeaways and invite readers to share their experiences or questions.
As always thanks for reading and reach out if you need any help.